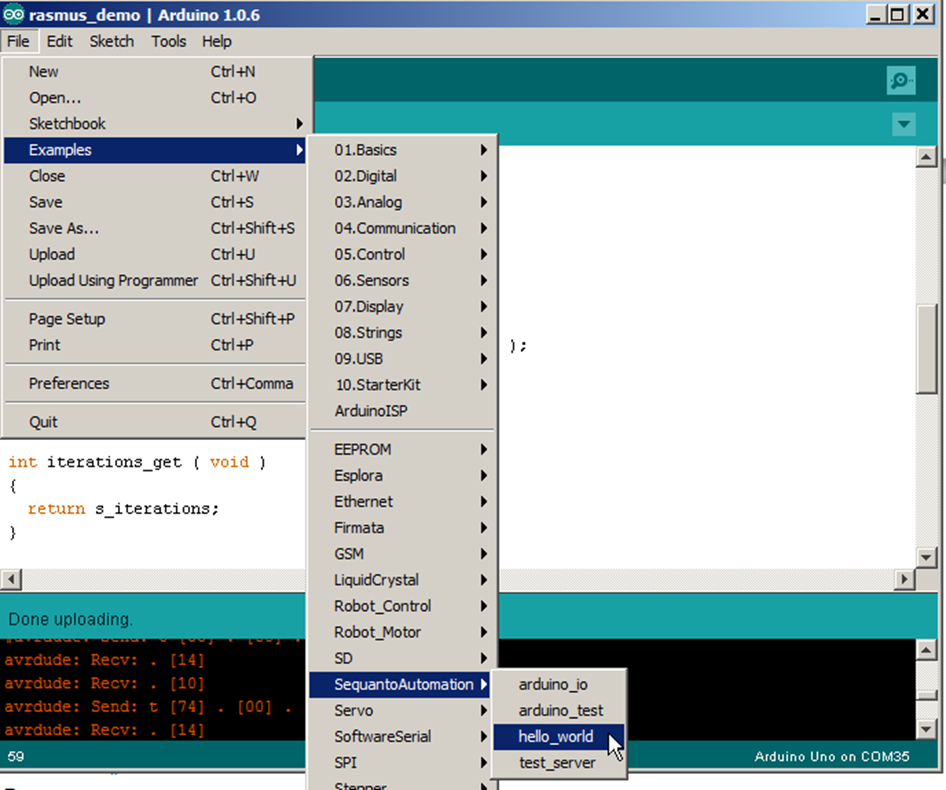
The easiest way to get started is to start with one of the included examples, for instance the “hello_world” example:
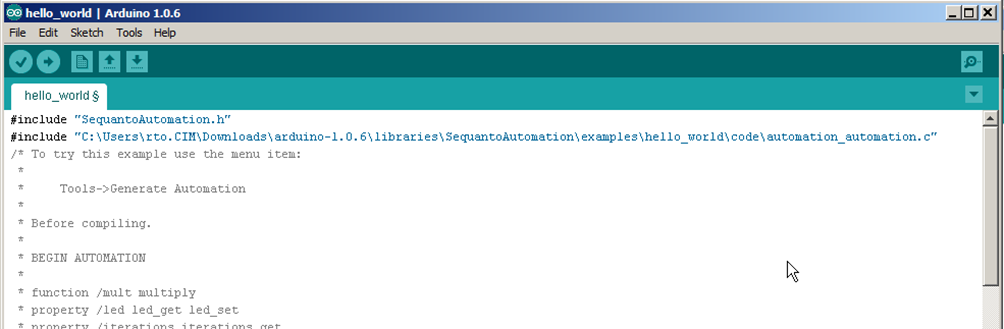
After the example is loaded Arduino looks like this:
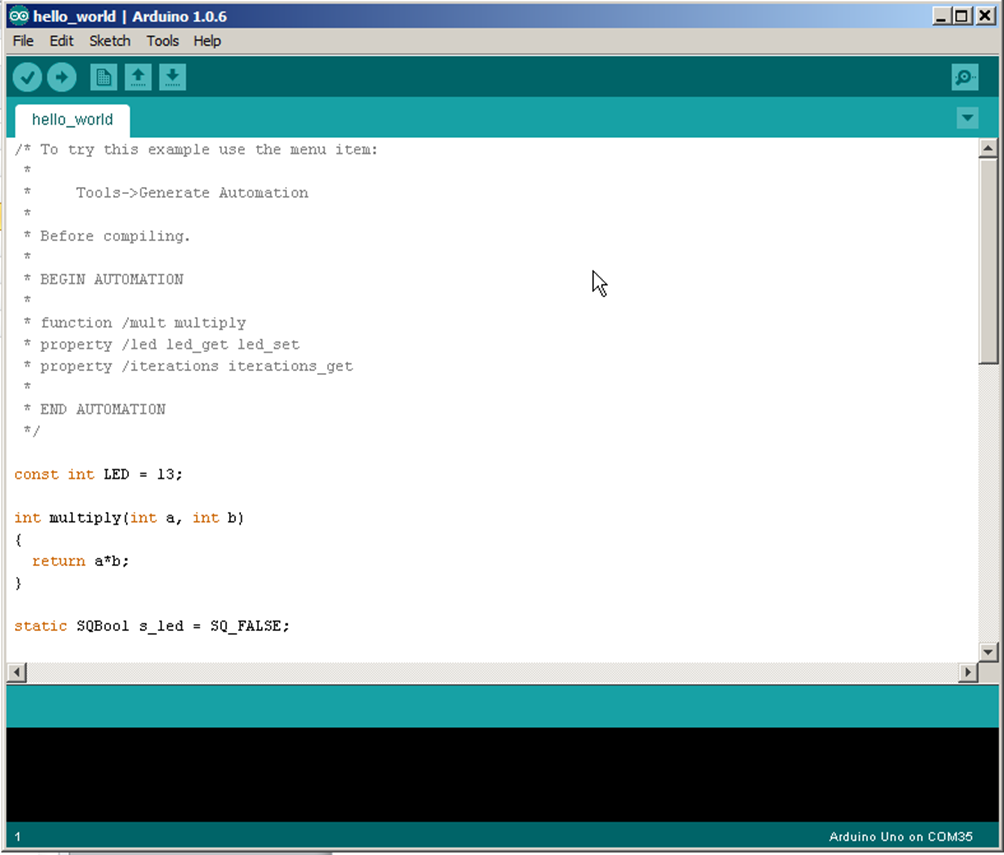
The information that is normally written in the sequanto-automation .automation file is written in a comment between the BEGIN AUTOMATION and END AUTOMATION markers.
Before compiling the example, the automation code needs to be generated by selecting Tools->Generate Automation:
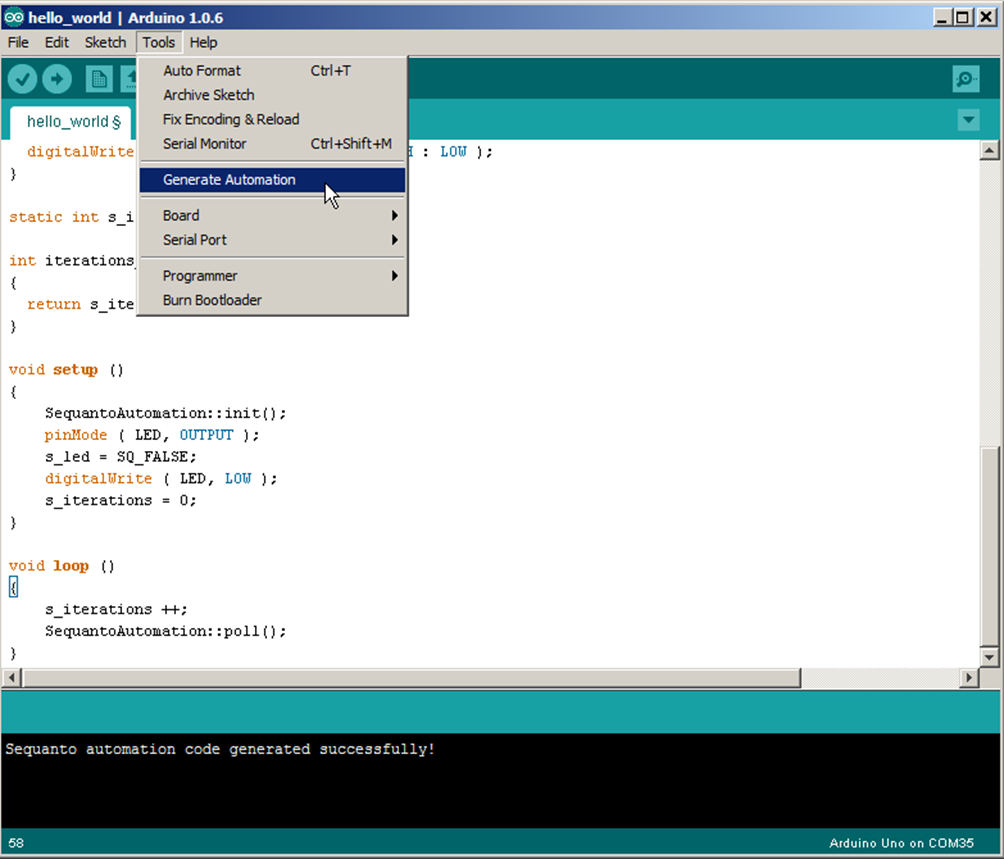
This should run without errors, and the “Sequanto automation code generated successfully!” string should be written in the output window.
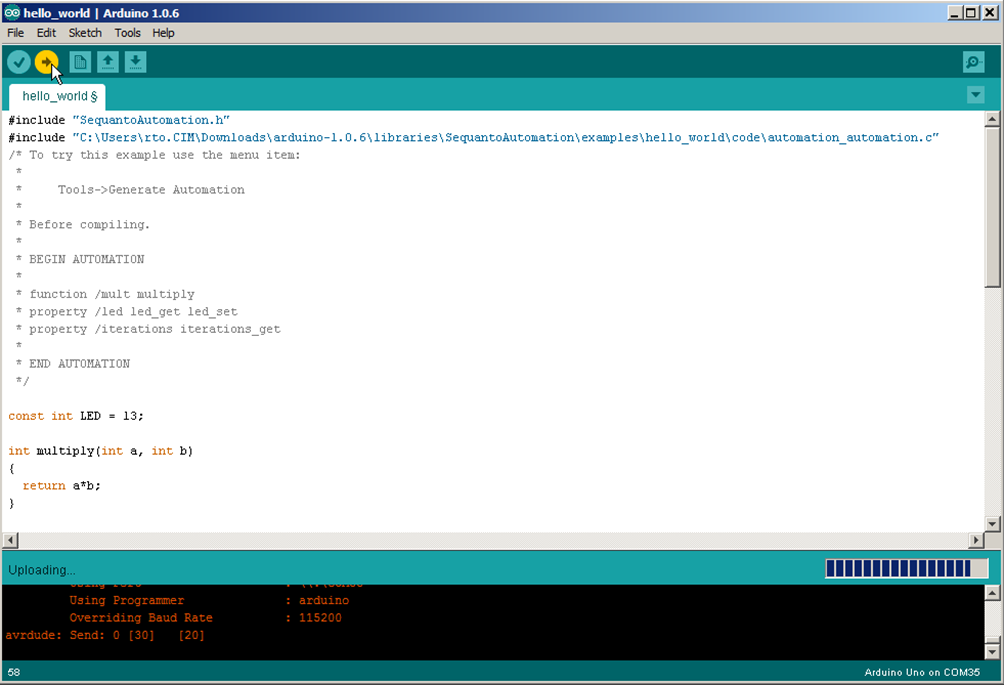
Please note that two new #include directives where added to the top of the file:
The first directive includes the SequantoAutomation library, the next includes the generated automation code.
After this, it should be possible to upload the Sketch to an Arduino board:
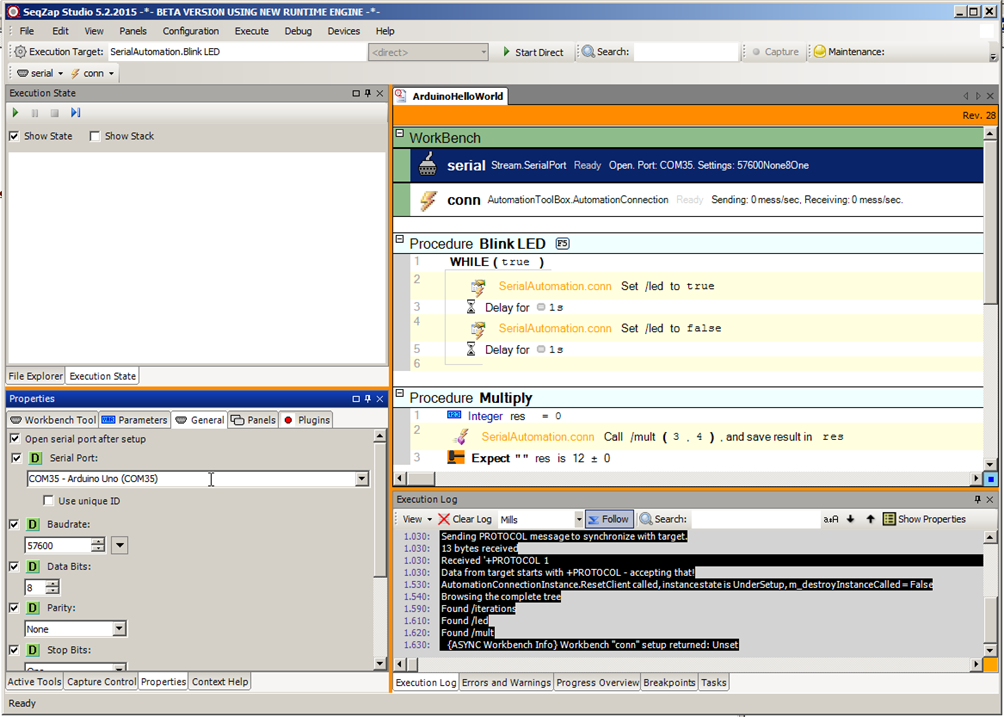
After the Arduino Software is done uploading, SeqZap can be used to inspect the automation tree.
SeqZap includes a simple example script which can be used to verify the connection to the Arduino hello world example.
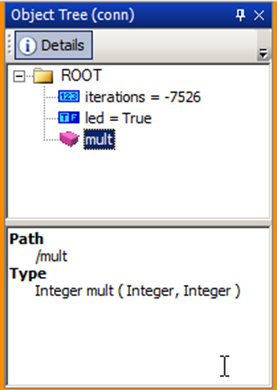
If the tree panel is opened it should show the following:
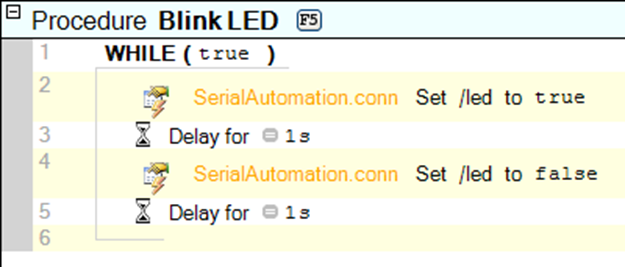
To verify that SeqZap can also control the Arduino, run the “Blink LED” procedure, this should make the LED on the Arduino blink.